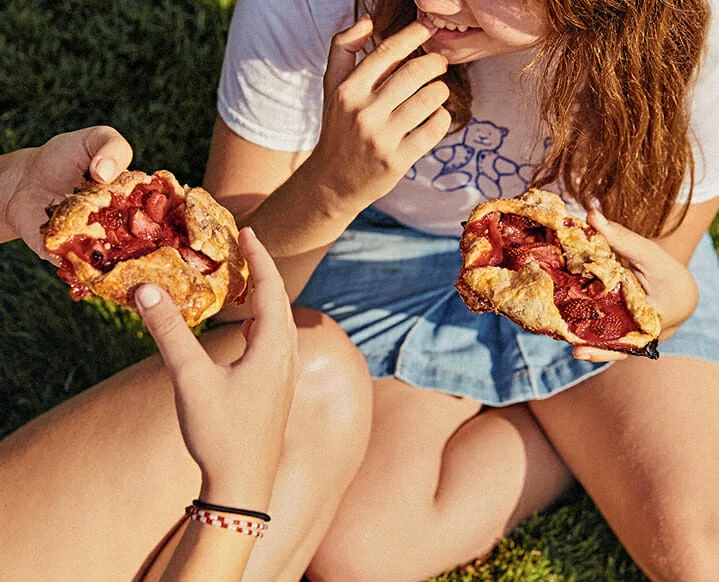
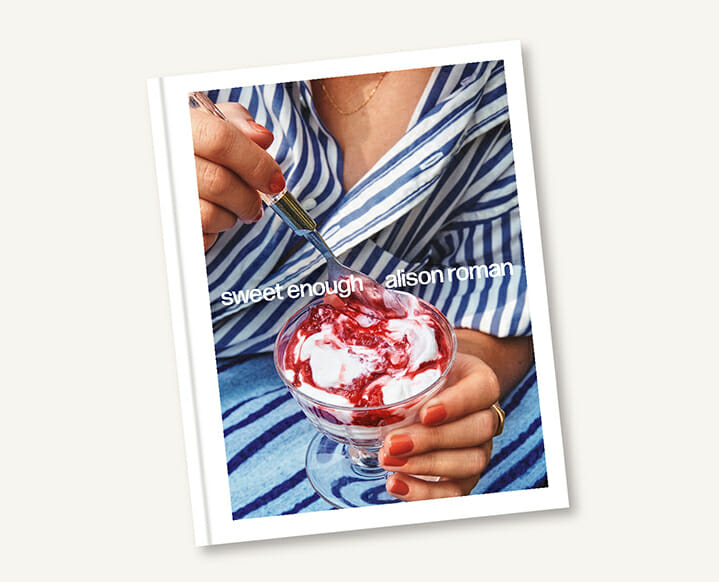
‘Tis the season of strawberries. And deceptively simple strawberry galettes like these ones from the new cookbook, Sweet Enough make for the ultimate summer indulgence.
Alison Roman has distilled her years of experience as a pastry chef and cookbook author to bring us dozens of casual dessert recipes with all the fun and charm we’ve come to expect from the NYT best-selling author.
Prep a batch of these decadent galettes based on Roman’s never-fail pie crust recipe for the 4th of July or any backyard celebration this summer…
Tiny Strawberry Galettes
Not all fruit is interesting enough to carry a small handheld galette on its own without the need for additional flavors or faffing, but in-season strawberries absolutely are. The perfectly juicy little orbs transform in the oven; juices bubble up and evaporate, concentrating flavors, while the texture and shape stay intact, firming up not unlike a semi leathery sun-dried tomato. What comes out is a better strawberry than what went in, baked inside a personalized flaky, caramelized crust.
Makes 8 galettes
Ingredients:
2 discs The Only Pie Crust (recipe below)
All-purpose flour, for dusting
1½ lbs strawberries, hulled and quartered (or chopped if especially large)
3 tbsp cornstarch
⅓ cup sugar, plus more for sprinkling
2 tbsp fresh lemon or lime juice
½ tsp rose water or orange blossom water (optional)
1 large egg
Finely chopped pistachios, pecans, almonds, or hazelnuts (optional)
Directions:
1. Preheat the oven to 375°F. Line two baking sheets with parchment paper.
2. On a lightly floured work surface, roll each disc of dough out to about 14 inches in diameter, give or take; make sure that the dough is evenly rolled, with no parts thicker or thinner than the other, even if that means an uneven circular shape. Cut each dough round into 4 even quarters and transfer to the lined baking sheets. Refrigerate while you prepare the filling.
3. In a medium bowl, combine the strawberries, cornstarch, sugar, lemon juice, and rose water (if using). Toss once or twice to combine.
4. Remove the dough from the fridge. Working with one at a time, remove a piece of dough from the lined baking sheet. Spoon strawberry mixture in the center of the dough, leaving about a 1-inch border of dough, piling it higher rather than spreading wider.
5. Fold up the edges just over the edge of the fruit, making more of an imperfect circular shape rather than reinforcing the triangle shape from whence it came. If you notice any large tears or cracks, simply patch them up by pressing the dough back together until sealed. Return each small galette to a lined baking sheet.
6. Whisk the egg with a teaspoon of water and brush the edges of the crust with the egg wash. Sprinkle with any finely chopped nuts you may be using (if you’re using) over the crust, followed by a nice dusting of sugar.
7. Bake, rotating the baking sheets once or twice until the crust of the small galettes is deeply browned like a graham cracker and the filling is bubbling, looking thick and shiny like melted fruit leather, 35–40 minutes. Remove from the oven and let cool before eating.
Eat with: A scoop of any ice cream you’d want to eat with strawberries. (This one is our fave!)
Make ahead: Tiny galettes are great made in advance and great for travel. They’ll last at least 2 days, tightly wrapped and stored at room temperature.
Note: For those lacking in the perfectly ripe, juicy berry department, these galettes will still produce something delicious with even subpar fruit (again: baking is magic). Other fruits to consider are rhubarb (unpeeled, cut into 3-inch-ish pieces) or raspberries (as is).
‘The Only Pie Crust’
I believe in this recipe so much that I keep republishing it every chance I get, in every book I write. It’s flaky, it’s buttery, it doesn’t require a food processor (in fact, I’d recommend against using one) and 98 percent of people who have made it have success with it 100 percent of the time. My tip here is to resist the urge to add more water—pie dough should never look like a smooth, shiny dough. The flour in the dough will hydrate as it sits, transforming from shaggy to more supple once rested. Remember, pie crusts are meant to be flaky, shatteringly crisp. Not doughy or cookie-like. Keep that in mind when the dough looks, well . . . flaky. That’s a good sign!
Makes 2 discs
Ingredients:
2½ cups all-purpose flour, plus more for rolling
2 tsp sugar
1 tsp kosher salt
10 oz unsalted butter, cut into 1-inch pieces, chilled
1 tbsp apple cider vinegar or distilled white vinegar
¼ cup ice cold water, plus more only if you absolutely must
Directions:
1. In a large bowl, whisk together the flour, sugar, and salt. Add the butter and toss to coat it in the flour mixture. Using your hands, smash the butter between your palms and fingertips, mixing it into the flour, creating long, thin, flaky, floury, buttery bits. Once most of the butter is incorporated and there are no large chunks remaining, dump the flour mixture onto a work surface.
2. In a measuring cup, combine the vinegar and ice water and drizzle it over the flour/butter mixture. Run your fingers through the mixture like you’re running your fingers through your hair, just to evenly distribute the water through the flour until the dough starts coming together.
3. Knead the dough a few more times, just to gather up any dry bits from the bottom and place them on the top to be incorporated. You will be tempted to add a tablespoon or two more water now—resist if you can, add only if you must.
4. Once you’ve got a shaggy mass of dough (it will not be smooth and it certainly will not be shiny), knead it once or twice more and divide it in half. Pat each piece into a flat disc about 1 inch thick. Wrap each disc individually in plastic wrap and refrigerate at least 2 hours.
Make ahead: The pie dough can be made and refrigerated for up to 1 week; frozen for up to 2 months.
Sweet Enough Copyright © 2023 by Alison Roman. Photographs copyright © 2023 by Chris Bernabeo. Published by Clarkson Potter, an imprint of Random House.
Read Next: This Wild Blueberry Tart Is Easier Than Pie. Actually.
